How to Make Barcode Price Tag: A Step-by-Step Guide
13th Aug 2025
Key Highlights
- Barcode price tags are essential for improving checkout speed, reducing human error, and ensuring accurate inventory management. They are also important for complying with Canadian retail laws, such as the Scanner Price Accuracy Code.
- To get started, you’ll need barcode generation software like BarTender, GoLabel, or NiceLabel. These tools allow you to create barcodes in formats like UPC-A or EAN-13, which are widely accepted across Canadian retailers.
- You’ll also need a compatible printer. For basic black-and-white tags, thermal transfer printers such as the Godex GE300 or TSC TE300 are ideal. If you want to include full-colour branding or bilingual content, inkjet printers like the Afinia L502 or VIPColour VP500 are recommended.
- Make sure to use high-quality tag materials such as thermal transfer rolls, direct thermal tags, or inkjet-compatible label sheets. You’ll also need accessories like tag cutters, tagging guns, or adhesives to finish and attach the tags properly.
- When creating your barcode tags, use design software such as BarTender, Adobe Illustrator, or Canva Pro. Include clear product information, the barcode with proper quiet zones, the price, and bilingual content if you’re operating in Quebec.
Creating accurate, scannable barcode price tags is essential for any modern retail operation. Whether you run a small boutique or manage inventory across multiple store locations, knowing how to make barcode price tag labels can streamline your checkout process, reduce human error, and improve inventory management.
Unlike basic handwritten or printed price tags, barcode tags include machine-readable data that integrates directly with your POS system, helping you track sales, manage stock levels, and speed up transactions. In this guide, we’ll walk you through how to make barcode price tag labels that are compliant, professional, and easy to produce using thermal or inkjet printers. Let’s break it down step by step.
What Are Barcode Price Tags and Why Do They Matter?
Barcode price tags are specialized product labels that combine traditional price displays with scannable barcode technology. These tags enable retailers to track inventory, automate checkout, and ensure pricing accuracy, all from a small printed code. They’re essential in modern retail environments where efficiency, speed, and data accuracy drive profitability.
Suppose you're learning how to make barcode price tag labels. In that case, the process typically involves selecting the proper barcode format (such as UPC-A or EAN-13), generating the code using software like GoLabel or BarTender, and printing the tags with either a thermal transfer or inkjet label printer. You can also download the generated barcode images for easier access. The result is a clean, machine-readable label that enables seamless interaction between your staff, customers, and products.
Barcode tags are not just for large chains. Whether you're running a boutique in Montreal or an online shop out of Calgary, adopting barcode price tags brings professionalism, operational control, and scalability to your business. They’re also required if you're integrating with point-of-sale systems or third-party marketplaces that rely on Universal Product Codes (UPCs).
Why Are Barcode Price Tags Important for Retail in Canada?
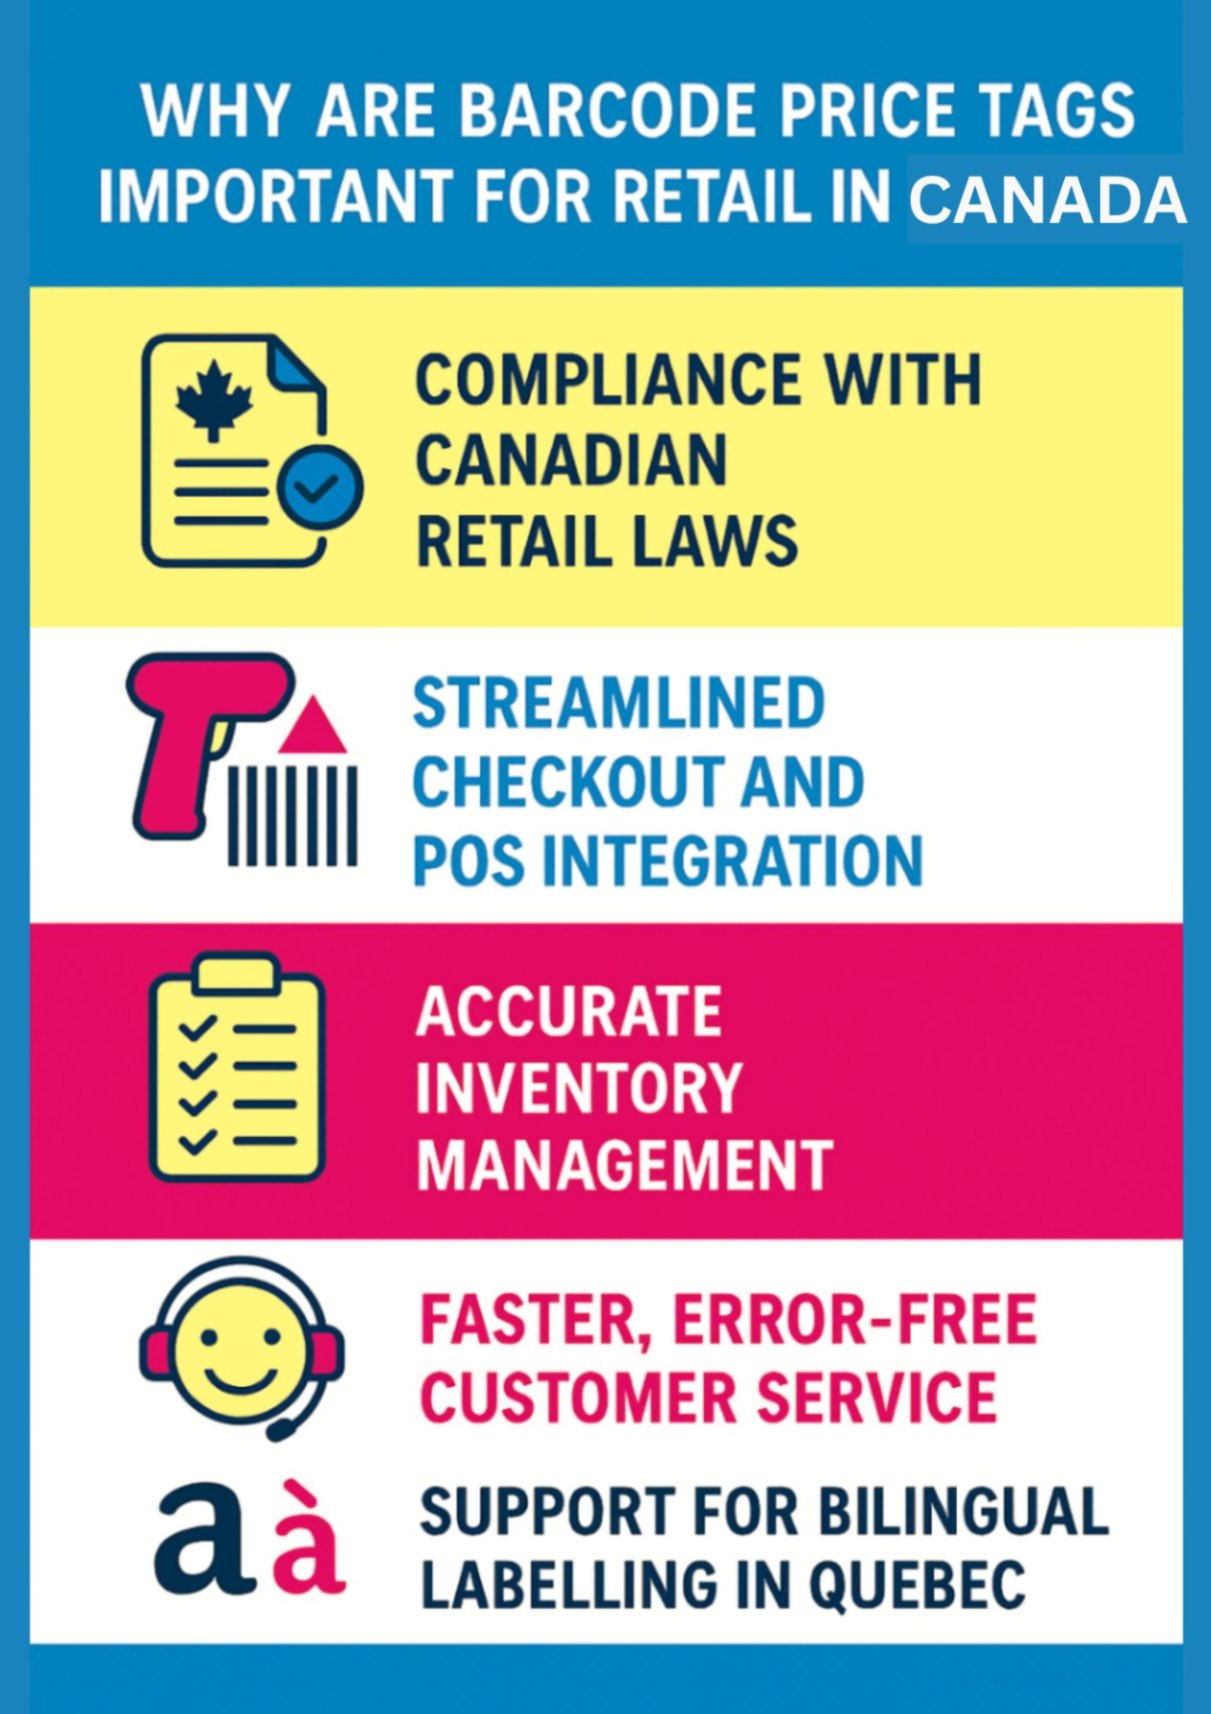
If you're wondering how to make barcode price tag labels that meet both business and legal standards, understanding their importance is the first step.
Here’s why barcode price tags are essential:
-
Compliance with Canadian Retail Laws
Barcode price tags help ensure pricing accuracy as required by the Competition Act and the Scanner Price Accuracy Code. They reduce human error and support transparency, protecting both the retailer and the customer. -
Streamlined Checkout and POS Integration
When you know how to make barcode price tag labels, you can seamlessly integrate them into your point-of-sale system. This improves transaction speed, reduces manual input, and enables real-time price adjustments. -
Accurate Inventory Management
Barcode tags enable instant access to product details, stock levels, and historical data with a single scan. This simplifies inventory audits, reordering, and tracking across multiple locations or channels. -
Faster, Error-Free Customer Service
By eliminating pricing discrepancies and manual lookups, barcode price tags speed up returns and exchanges. Customers enjoy a smoother shopping experience, while staff can work more efficiently. -
Support for Bilingual Labelling in Quebec
In regions like Quebec, retailers are required to provide bilingual labels. With tools like GoLabel or BarTender, you can create barcode price tags in both English and French, ensuring compliance and inclusivity. -
Scalability for Growing Businesses
Once you learn how to make barcode price tag labels correctly, it's easy to scale production across new locations or product lines, keeping your operations consistent and professional.
What Tools and Materials Do You Need to Create Barcode Price Tags?
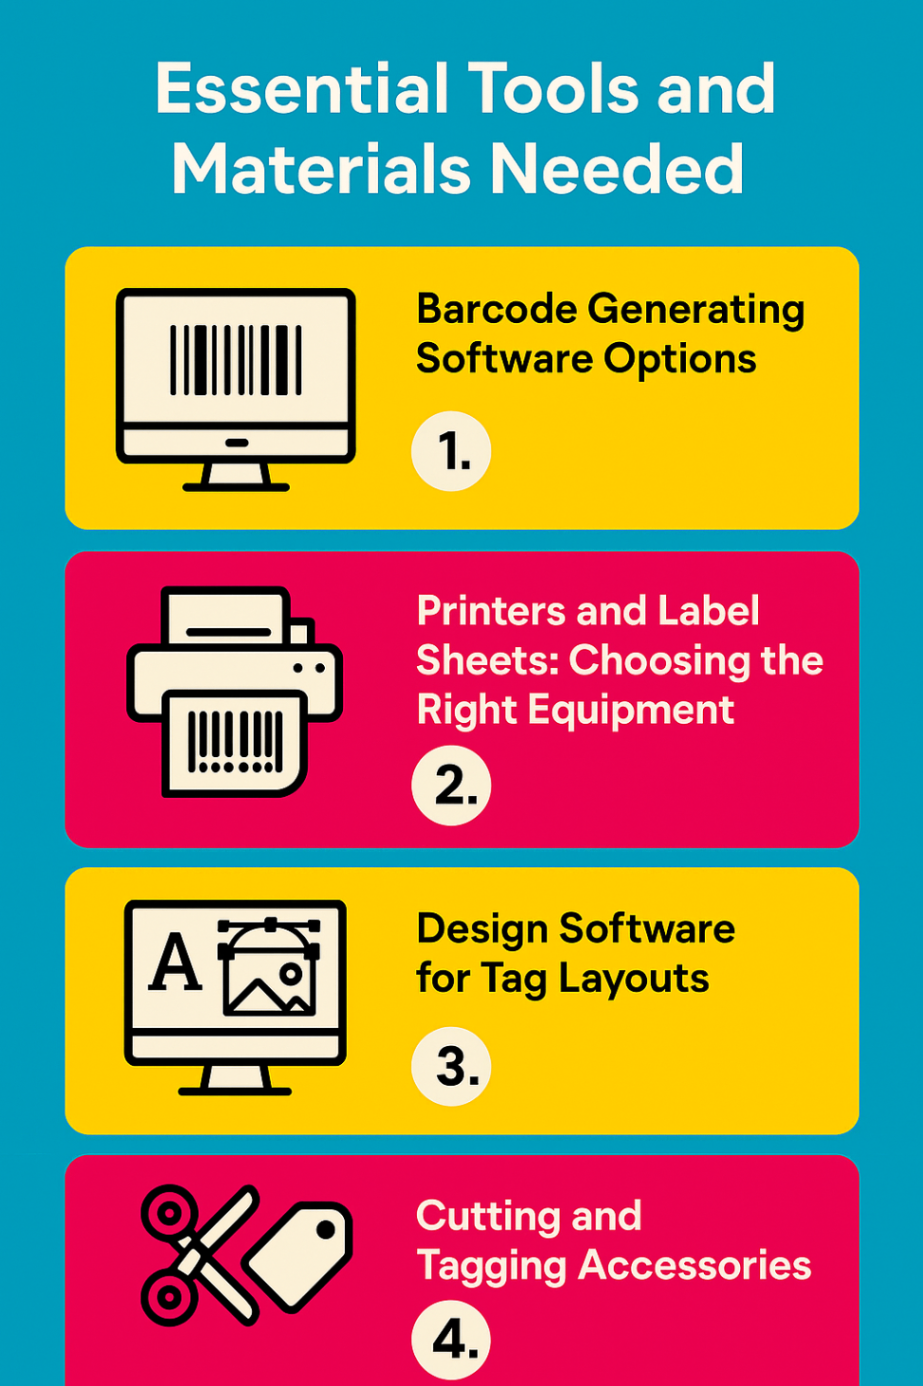
If you’re learning how to make barcode price tag labels for your retail business, the first step is setting up the right toolkit to print labels efficiently. Creating professional-grade barcode price tags requires a combination of reliable software, suitable printers, durable tag materials, and accessories that ensure clean finishing and secure application. Below, we break down each essential component you’ll need to get started.
1. Which Barcode Generating Software Should You Use?
At the core of any barcode price tag is the barcode itself, accurate, scannable, and unique to each product. For printing barcode labels, you’ll need professional barcode software, including options for generating ISBN barcodes. In Canada, retailers commonly use tools like BarTender, NiceLabel, or GoLabel, which enable the creation of individual barcodes in various formats, including UPC, EAN, and QR codes.
These programs not only let you assign custom product codes and SKUs but also integrate with inventory systems and allow batch generation of barcode labels, key when scaling your retail operations. If you want to understand how to make barcode price tag labels that are both functional and compliant, investing in robust barcode software is a must.
2. What Printers and Label Sheets Are Best for Barcode Tags?
Once your barcode is ready, you’ll need a printer capable of producing high-resolution tags that won’t smudge, fade, or tear. For barcode printing, most Canadian retailers choose between:
-
Thermal Transfer Printers: Ideal for long-lasting, monochrome tags. These are ideal for retailers who print thousands of tags for clothing, electronics, or general merchandise.
-
Inkjet Colour Printers: Best suited for businesses that want to include full-colour branding, logos, or imagery on their tags. Models like the Afinia L502 or Primera LX4000 available at DuraFastLabel.ca are excellent options.
Pair these printers with compatible label sheets or tag rolls, available in direct thermal, thermal transfer, or inkjet materials, depending on your printer type. Choosing the right combination ensures your barcode price tags are both durable and visually appealing.
3. How Do You Design Barcode Price Tag Layouts?
Designing the full tag layout goes beyond just the barcode. You’ll want to include pricing, product name, size, SKU, and possibly bilingual descriptions (especially for businesses operating in Quebec).
Design platforms like Adobe Illustrator, Canva Pro, or BarTender’s layout module allow you to create custom tag templates. These tools provide flexibility in arranging elements and aligning branding. Knowing how to make barcode price tag designs that match your brand’s aesthetic helps maintain professionalism and customer trust.
4. What Accessories Do You Need for Cutting and Tagging?
After printing your tags, finishing tools ensure a clean presentation and secure application. Depending on your tag type, you may need:
-
Tag cutters or guillotines for precise edges
-
Tagging guns and fasteners for attaching tags to clothing or textile products
-
Label dispensers or perforated sheets for easy handling
-
String, pins, or adhesives depending on garment type and store policy
These accessories may seem minor, but they play a crucial role in producing barcode tags that are ready for retail use. When exploring how to make barcode price tag labels that are neat, tamper-resistant, and easy to scan, your tools should match your product type and volume.
How Should You Prepare Product Information for Barcode Tags?
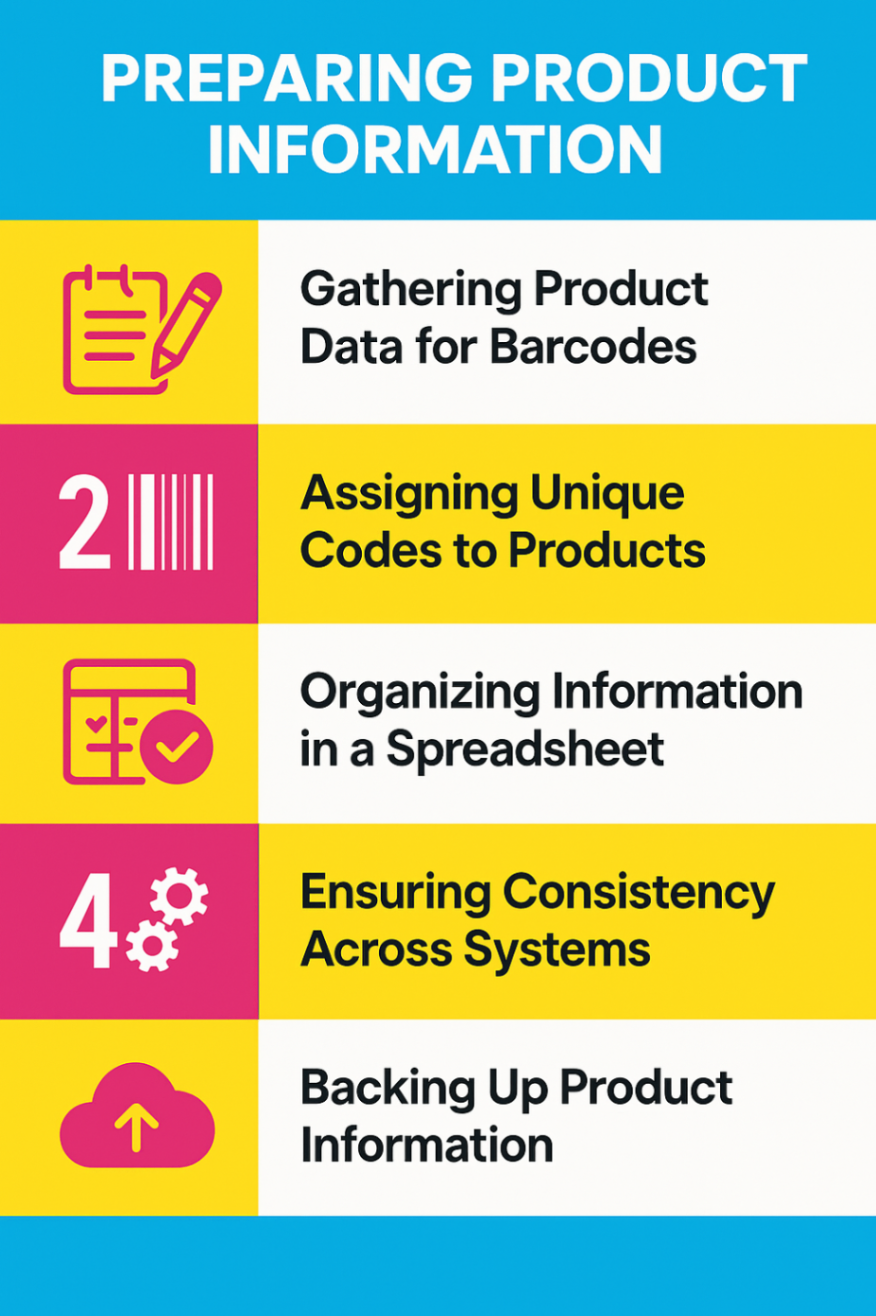
If you’re running a retail operation in Canada, whether it’s a fashion boutique, electronics store, or e-commerce platform, knowing how to make barcode price tag labels is key to ensuring pricing accuracy, efficient inventory management, and faster checkouts. This step-by-step guide outlines the entire process, from data preparation to print testing, so you can produce tags that are professional, compliant, and easy to scan.
1. What Product Data Do You Need to Collect First?
Before creating barcode labels, gather all the essential product data. This includes:
-
Product name
-
SKU or inventory code
-
Price (inclusive or exclusive of tax based on your province)
-
Size, colour, or variant along with any additional information.
-
Language details (mainly if operating in bilingual markets like Quebec)
Having this data organized, preferably in a spreadsheet, ensures consistency and allows you to batch-generate barcode price tags, especially helpful if you're scaling your inventory.
2. How Do You Assign Unique Codes to Each Product?
The next step in how to make barcode price tag labels is selecting barcode software that aligns with your product volume and compliance needs. For most Canadian retailers, top options include:
-
BarTender: Ideal for enterprise-level batch printing and integration with POS systems.
-
GoLabel: Perfect for small to mid-sized operations using Godex printers.
-
NiceLabel: Known for cloud-based design and easy automation.
These programs support standard formats, such as UPC-A, EAN-13, and QR codes, which are commonly used across the Canadian retail sector.
3. Why Should You Organize Product Info in a Spreadsheet?
Once your barcode is generated, move on to designing the full label layout. Good design ensures your tags are both brand-aligned and functional. Here’s what to include:
-
Barcode (with enough white space around it)
-
Product name and price
-
Optional: brand logo, material/care info, bilingual text (English/French)
Using layout tools within BarTender, GoLabel, or external design platforms like Adobe Illustrator helps maintain clarity and consistency. This step is where many retailers optimize their barcode price tag layouts to ensure they are visually balanced and scanner-friendly.
4. How Do You Ensure Consistency Across All Systems?
Now it’s time to print on the appropriate paper type. Use a high-quality thermal transfer printer (e.g. Godex EZ2250i) for durable, monochrome output, or a colour inkjet printer (e.g. Afinia L502 or Primera LX4000) if you need branded tags with colour elements.
Choose the appropriate tag stock, direct thermal, thermal transfer, or inkjet-compatible, from trusted Canadian suppliers like DuraFastLabel.ca. Always print a small test batch first to verify alignment, print resolution, and data accuracy.
5. Why Is It Important to Back Up Product Information?
The final and most overlooked step in how to make barcode price tag labels is testing. Use your POS scanner or a handheld device to scan multiple samples across different lighting and angles. Confirm that:
-
Barcodes are scannable without delay
-
Pricing and product info match the backend system
-
Labels don’t smudge or tear easily
Proper testing ensures your barcode tags function perfectly at checkout, avoid misreads, and comply with Canadian price accuracy guidelines under the Scanner Price Accuracy Code.
How Do You Make Barcode Price Tags Step-by-Step?
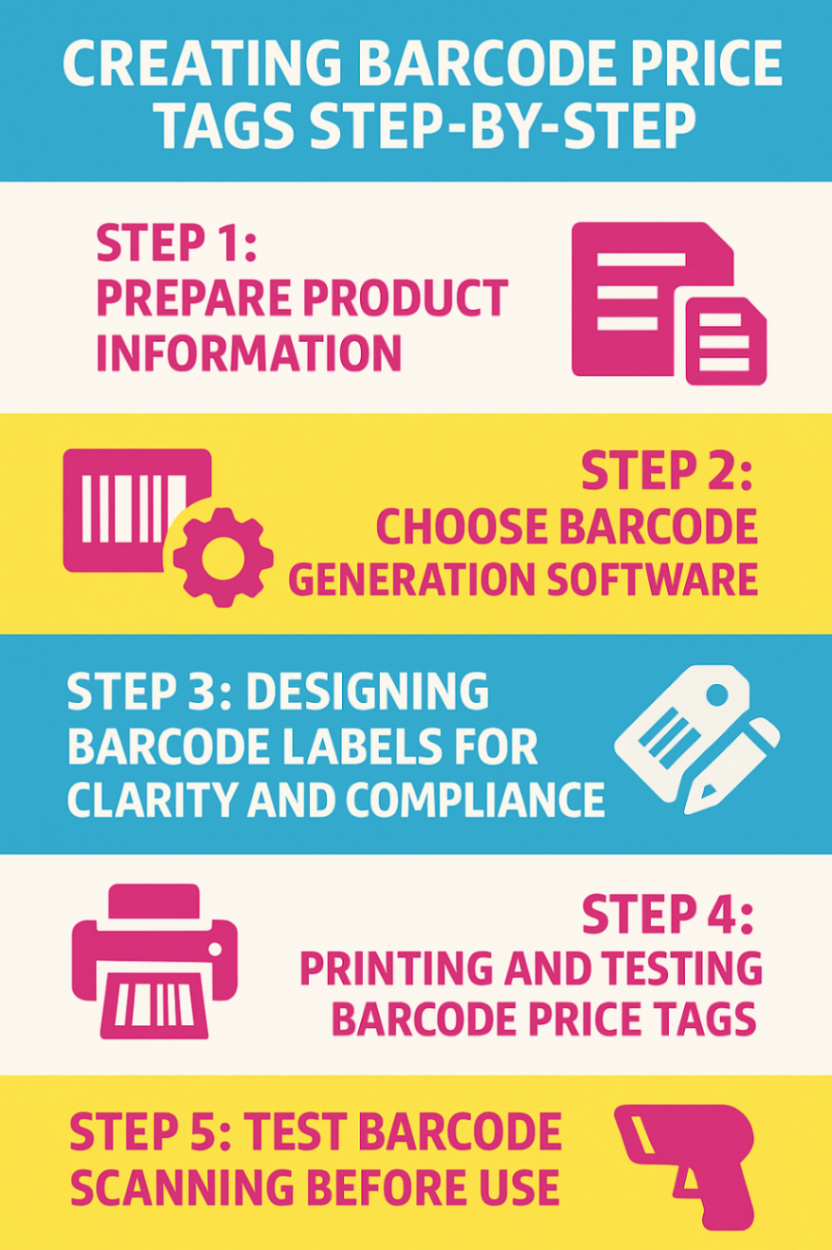
Whether you're a boutique in Montreal or an e-commerce seller in Vancouver, follow these five essential steps to ensure your barcode price tags are accurate, professional, and easy to scan.
Step 1: Prepare Product Information
Before opening your design software, gather all relevant product data. This includes:
-
Product name or title
-
SKU or unique product code
-
Size, colour, or variant
-
Price (and whether it includes tax)
-
Optional: Brand name, care symbols, bilingual text (for Quebec compliance)
Organize this information in a spreadsheet or inventory system. A clean dataset not only speeds up the process but is crucial when learning how to make barcode price tag labels at scale.
Step 2: Choose Barcode Generation Software
To generate scannable barcodes, you'll need reliable software. Your choice depends on your scale and printer compatibility. For Canadian retailers, popular options include:
-
BarTender – Excellent for high-volume, automated printing
-
GoLabel – Pairs well with Godex thermal printers
-
NiceLabel – Great for cloud-based or centralized retail operations
These tools enable you to create standard barcode types (such as UPC-A or EAN-13) that Canadian retailers and scanners universally recognize. When figuring out how to make barcode price tag labels, this software becomes your control center.
Step 3: Designing Barcode Labels for Clarity and Compliance
Now it’s time to design a functional and attractive price tag. Keep in mind:
-
Barcode placement: Leave quiet zones (blank space) around the code for clean scanning
-
Text hierarchy: Make the price and product name easily readable
-
Brand alignment: Use your logo, colour palette, and typefaces
-
Language: In regions like Quebec, include French translations
Using label design tools built into BarTender or GoLabel makes it easy to format tags that are scanner-friendly and brand-consistent if you're serious about how to make barcode price tag layouts that work in the real world, design matters.
Step 4: Printing and Testing Barcode Price Tags
Print your tags using equipment that suits your retail environment:
-
Thermal transfer printers (e.g. Godex GE300, EZ2250i): Best for monochrome, durable labels
-
Colour inkjet printers (e.g. Afinia L502, Primera LX4000): Ideal for tags with colour branding
Select compatible tag stock from a trusted supplier like DuraFastLabel.ca. Be sure to print a test batch first to ensure proper alignment, sharp barcode edges, and legibility. A single printing error can disrupt checkout or create confusion.
Step 5: Test Barcode Scanning Before Use
Before mass-producing tags, verify that each label scans correctly. Use your POS system or handheld barcode scanner to test:
-
Scan speed and accuracy
-
Data accuracy (product info, price match)
-
Resistance to smudging, fading, or tearing
This step ensures your barcode price tags are ready for retail use, and helps you stay compliant with Canada's Scanner Price Accuracy Code.
How Can You Implement and Use Barcode Price Tags Effectively?
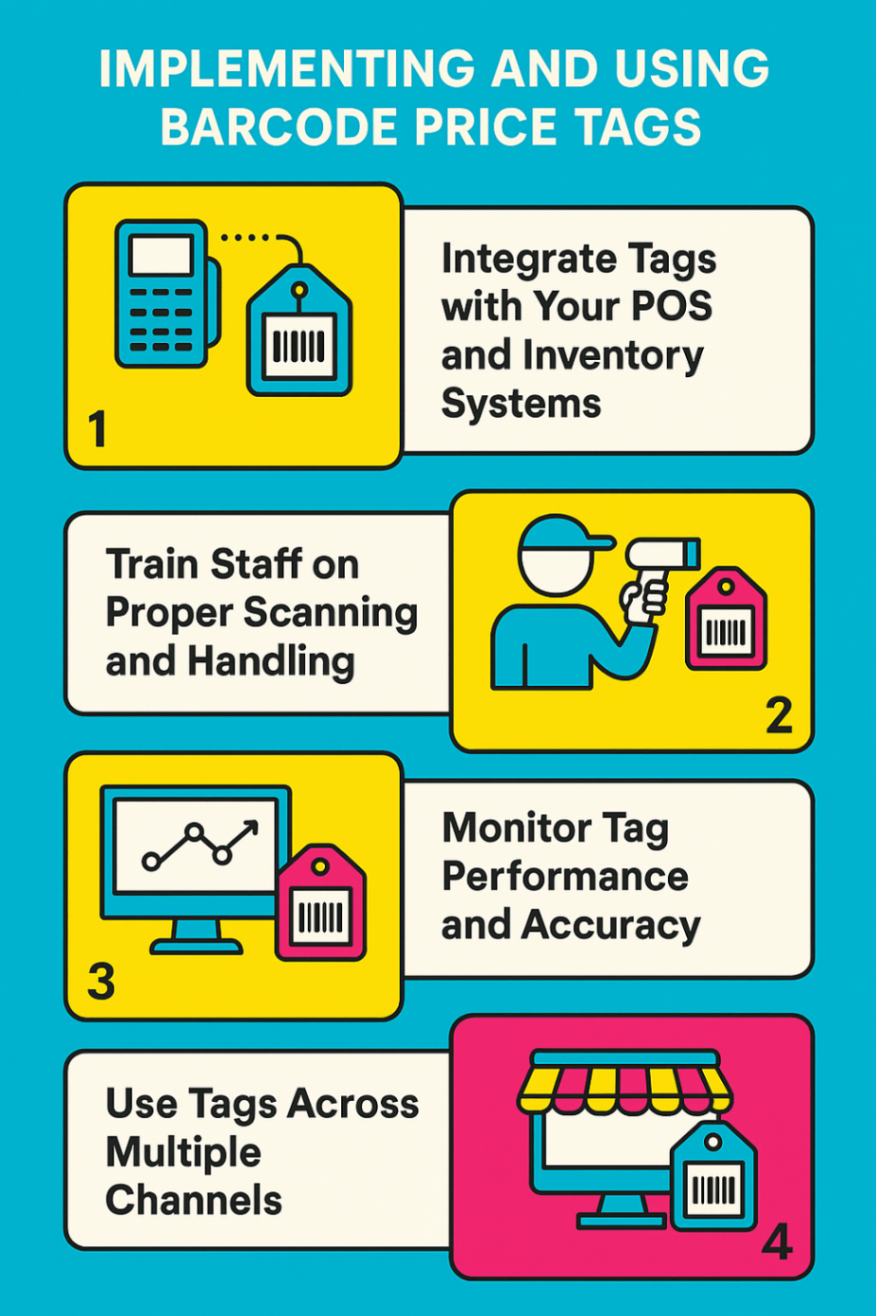
Whether you're tagging new inventory in a Toronto warehouse or labelling seasonal merchandise in a Vancouver boutique, smooth implementation ensures you get the full operational benefits barcode tags can offer.
1. How Do You Integrate Barcode Tags with Your POS and Inventory Systems?
The real power of barcode price tags lies in automation. After printing your tags, link them to your POS system or inventory management software. This connection ensures that every scan at checkout updates inventory levels in real-time and reflects current pricing, even during promotions or markdowns. Most systems allow CSV imports or API-based syncing for seamless integration.
2. Why Should You Train Staff on Scanning and Tagging Procedures?
No matter how well you’ve mastered how to make barcode price tag labels, errors can still happen at the point of sale if staff aren’t trained. Make sure your employees understand:
-
Where barcode tags are located on each item
-
How to scan without damaging the tag
-
How to troubleshoot scanning errors
-
What to do if tags are missing or unreadable
Investing time in staff training will reduce checkout delays and improve overall customer satisfaction.
3. How Do You Monitor Barcode Tag Performance and Accuracy?
Regularly audit your price tags for accuracy and to ensure they are not worn out. Barcode labels can smudge, tear, or become unreadable over time, especially in high-traffic environments. Set a routine schedule to:
-
Reprint damaged or faded tags
-
Update barcodes when pricing or SKUs change
-
Verify scanner compatibility after system updates
This type of routine maintenance ensures your operation runs smoothly and prevents compliance issues related to pricing errors.
4. How Can Barcode Tags Be Used Across Multiple Sales Channels?
If you sell products both online and in-store, your barcode tags should be compatible across channels. Knowing how to make barcode price tag labels that sync with e-commerce inventory systems (like Shopify, Lightspeed, or WooCommerce) means you can manage products in one place. Unified tagging reduces confusion, especially during returns or exchanges.
Which Barcode Printers Are Best for Retail Price Tags in Canada?
Whether you need monochrome thermal transfer tags for basic scanning or full-colour labels that reflect your brand identity, DuraFastLabel.ca offers a range of printers tailored to your specific needs. Below is a breakdown of top-performing models and what makes each stand out.
1. Brother Titan TJ-4010TN 4.7" | 203 dpi | 6 ips Thermal Transfer Industrial Label Printer with USB/LAN
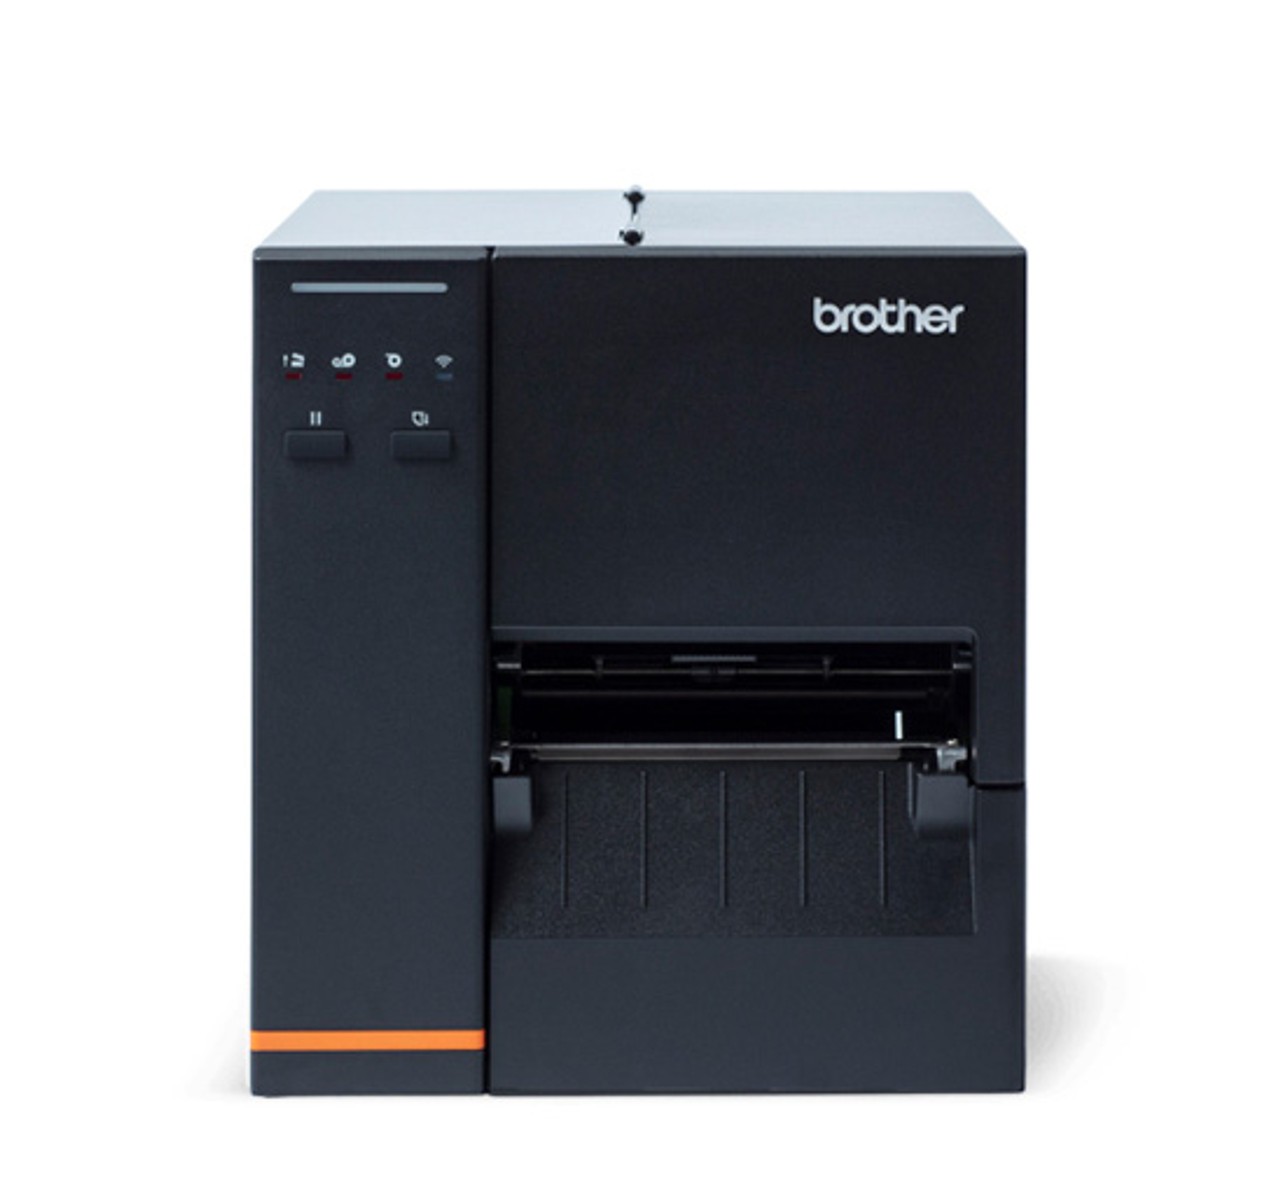
Type: Industrial Thermal Transfer
Resolution: 203 dpi
Speed: 6 inches per second
Print Width: 4.7"
Connectivity: USB, LAN
Pros:
-
Built for high-volume, industrial environments
-
Long-lasting thermal transfer output
-
Supports large label rolls for fewer changeovers
-
2-year Premier Warranty
Cons:
-
Only supports monochrome (black and white) output
-
Higher upfront cost than desktop models
Best For: Distribution centers, manufacturers, or retailers needing rugged, long-term barcode printing.
2. TSC TE300 4.0" 300 dpi 5 ips Desktop Thermal Transfer Label Printer 99-065A700-00LF00
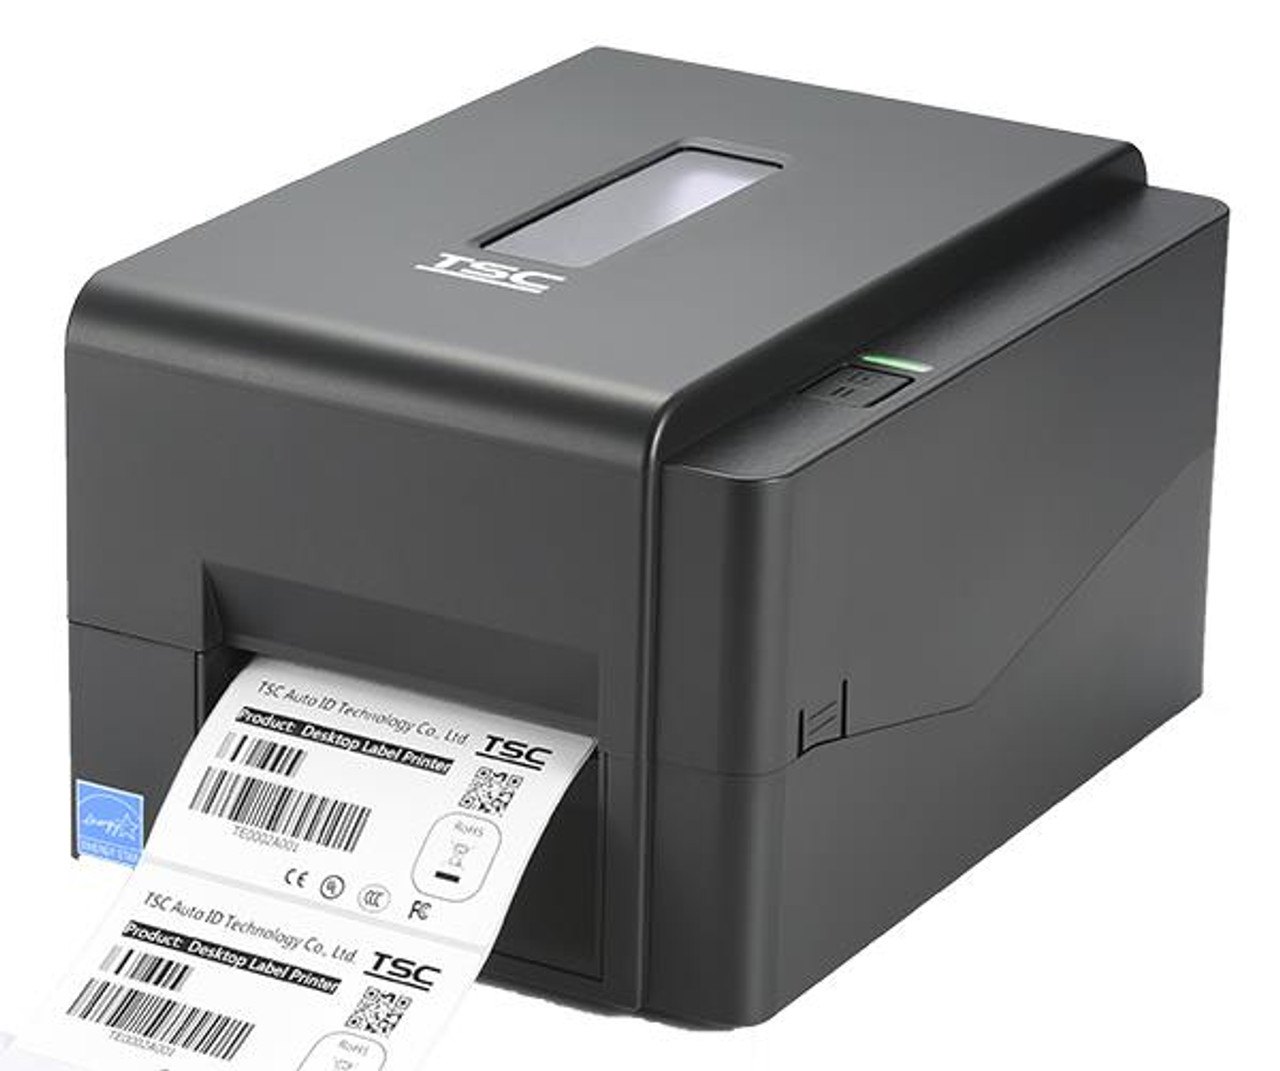
Type: Desktop Thermal Transfer
Resolution: 300 dpi
Speed: 5 inches per second
Print Width: 4.0"
Pros:
-
High resolution (300 dpi) for small barcodes and detailed tags
-
Compact footprint suitable for office or countertop use
-
Affordable price point
Cons:
-
Slower than industrial printers
-
Monochrome only (no colour printing)
Best For: Apparel boutiques, cosmetic brands, and businesses printing detailed tags in moderate volumes.
3. TSC TTP-247 4-Inch Wide Desktop Thermal Transfer Label Printer
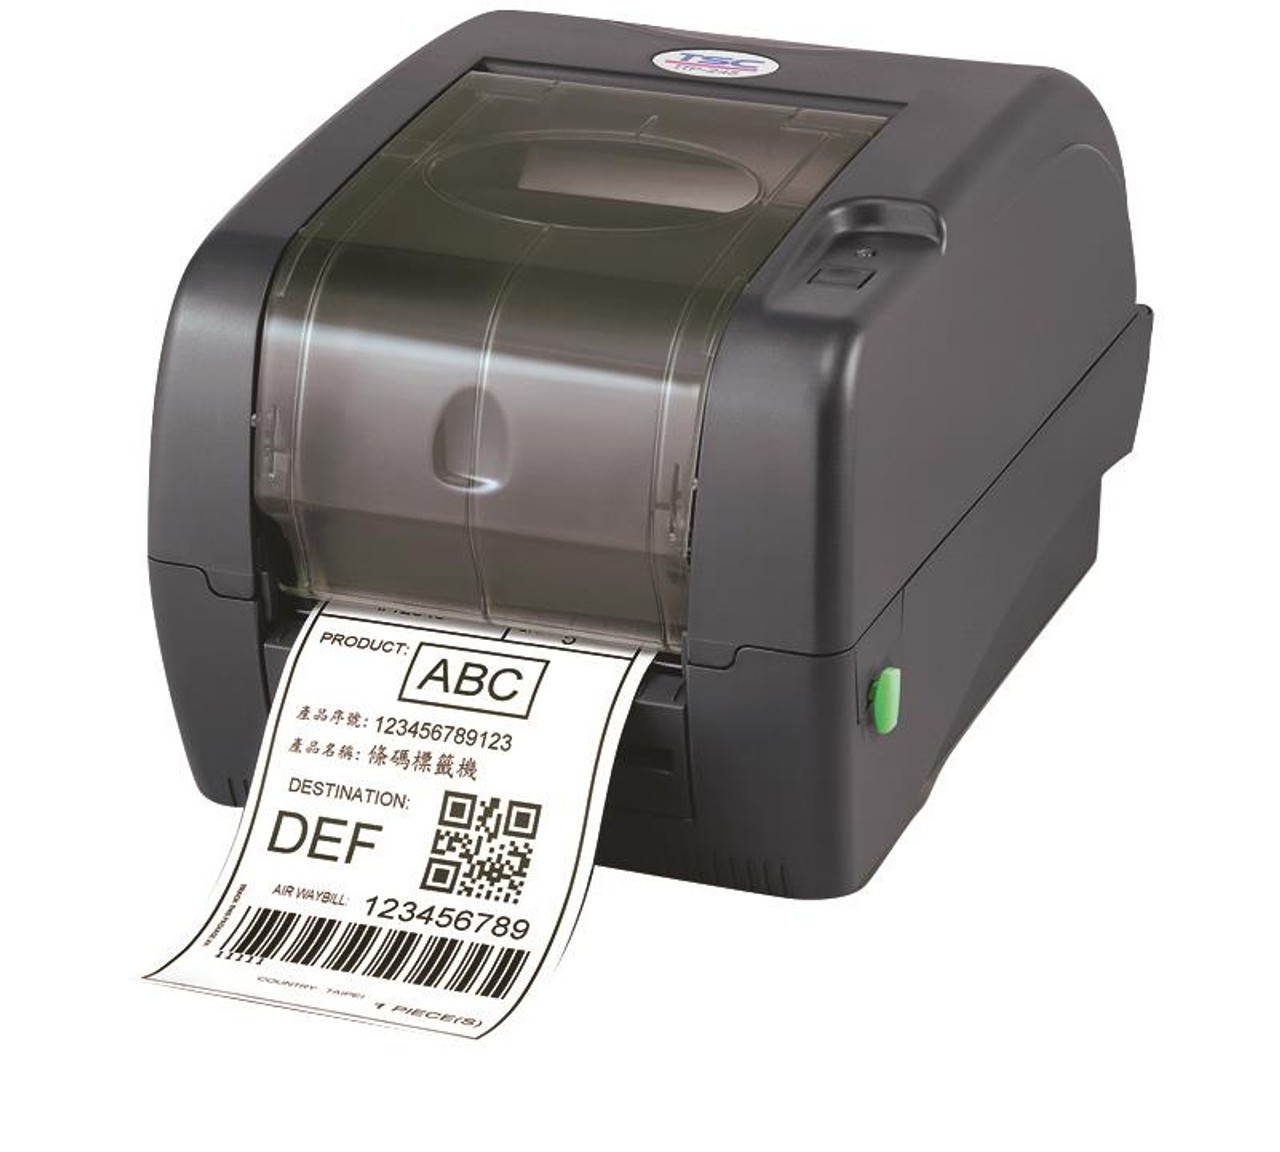
Type: Desktop Thermal Transfer
Resolution: 203 dpi
Speed: 7 inches per second
Print Width: 4.0"
Ports: USB, Serial, Parallel
Pros:
-
Fast and reliable performance
-
Prints both direct thermal and thermal transfer labels
-
Budget-friendly and easy to integrate
Cons:
-
Monochrome only
-
Lower resolution than TE300 (may affect small barcode clarity)
Best For: Mid-size retailers, logistics, and barcode tagging for general merchandise.
4. VIPColour VP500 Memjet Colour Label Printer
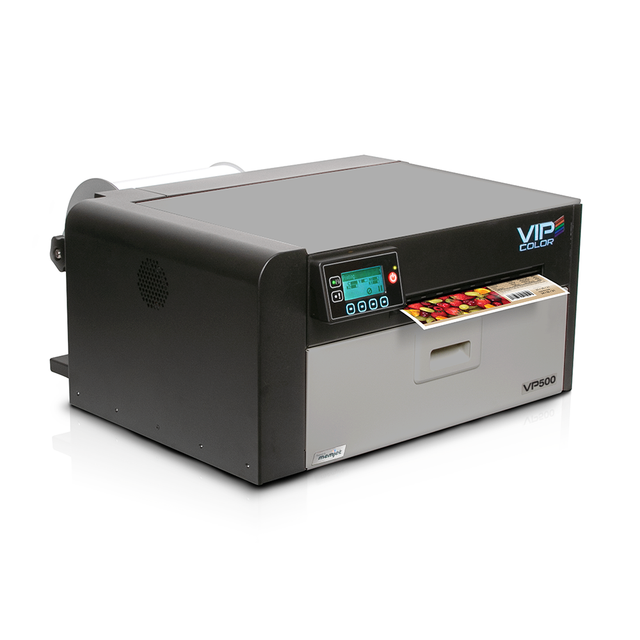
Type: Memjet Colour Inkjet Printer
Resolution: 1600 dpi
Speed: High-speed full-colour printing
Print Width: Up to 8.5"
Pros:
-
Vivid full-colour labels with fast print speeds
-
Perfect for branding, logos, and promotional tags
-
Supports high-resolution graphics
Cons:
-
Higher cost than thermal printers
-
Requires colour label stock and ink refills
Best For: Brands needing colourful, eye-catching price tags, ideal for cosmetics, food, and specialty products
5. Afinia L502 Inkjet Colour Label Printer
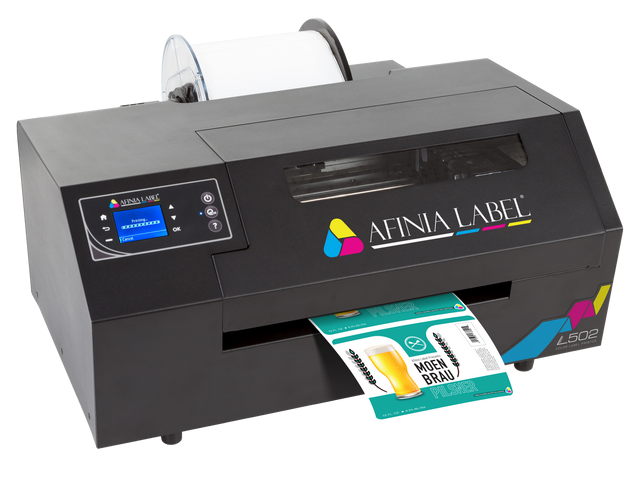
Type: Inkjet Colour Printer (Pigment + Dye Compatible)
Resolution: 4800 dpi
Speed: 5.2 ips
Print Width: Up to 8.5"
Pros:
-
Switch between pigment (durable) and dye (vibrant) inks
-
GHS BS5609 certified with pigment inks
-
Ideal for chemical, industrial, and outdoor labels
Cons:
-
Higher ink costs over time
-
Requires proper stock based on ink type
Best For: Companies printing durable labels, chemical drums, outdoor products, and custom branding tags.
Monochrome vs. Colour Label Printing: What You Should Know?
Understanding the type of barcode tag you want to print plays a crucial role in selecting the right printer. Monochrome thermal printers, such as the Brother TJ-4010TN or TSC models, are ideal for simple, fast, and budget-friendly black-and-white printing, perfect for SKUs, inventory tags, and plain pricing labels.
On the other hand, inkjet colour label printers like the VIPColour VP500 or Afinia L502 allow you to incorporate full-colour logos, bilingual product names, or red “SALE” messages on the same tag, helping your brand stand out while still meeting barcode scanning and compliance requirements.
Why Canadian Retailers Trust DuraFast for Barcode Price Tag Solutions?
Seeking a comprehensive solution to print professional barcode price tags that are effective? DuraFast Label Company has you covered.
From thermal transfer tags for high-volume clothing stores to vibrant inkjet labels for boutique branding, DuraFast offers everything you need to master how to make barcode price tag labels, all in one place. Our extensive inventory includes:
-
Industry-leading printers from brands like Godex, TSC, Afinia, Primera, and VIPColour
-
Printable tag materials in direct thermal, thermal transfer, and inkjet-compatible options
-
Barcode software recommendations and expert guidance tailored for Canadian retailers
-
Quick shipping across Canada and bilingual support for businesses in Quebec
Whether you're launching a new retail store or scaling up your inventory system, our experts will help you select the right printer, media, and setup that aligns with your workflow, budget, and compliance requirements.
Explore our full range at DuraFastLabel.ca or reach out for a free consultation.
Conclusion
Mastering the art of creating barcode price tag labels empowers retailers to streamline operations, enhance inventory accuracy, and increase checkout efficiency. With the right barcode generator, you can easily create and print barcode labels based on your product data, symbology preferences, or shopping cart systems. Whether you use a thermal printer or an online barcode generator, the key lies in maintaining consistent barcode data, verifying scannability, and ensuring your labels are aligned with POS and invoicing systems. Once designed and tested, barcode tags can be downloaded, printed, and applied using default or custom formats, keeping your retail business efficient and compliant.
Frequently Asked Questions:
What barcode types are best for Canadian retail?
UPC-A and EAN-13 barcodes are widely accepted in the Canadian retail sector as common types of barcodes. They ensure compatibility with POS systems and meet GS1 standards. For internal tracking or custom tags, Code 128 offers flexibility. Always verify format requirements with distributors or retailers to maintain compliance and ensure seamless scanning at checkout.
Can I use a regular printer for barcode price tags?
While you can print basic barcodes with a regular inkjet or laser printer, they may lack durability and scannability. For retail-grade results, thermal transfer or inkjet label printers are recommended. These produce long-lasting, smudge-resistant tags suitable for handling, shelving, and retail environments, especially in compliance-heavy markets like Canada.
How do I ensure my barcodes are scannable?
To ensure scannability, use high-contrast printing (black bars on white background), maintain quiet zones around the barcode, and choose the correct barcode type and resolution (typically 203–300 dpi). Test with barcode scanners before deployment and avoid resizing or stretching barcode images during label design or printing.
What type of tags are available?
DuraFast Label Company manufactures a variety of tag types to suit different printers and applications. These include direct thermal and thermal transfer tags compatible with thermal printers, as well as inkjet-printable price tags designed for colour label printers like the Afinia L502 and Primera LX4000. You can explore inkjet shelf labels, direct thermal tags, and thermal transfer tags based on your printing setup and usage requirements.
