What Should You Know Before Printing Binder Spine Labels?
8th Jul 2026
Key Highlights
-
Printing binder spine labels improves organization, visibility, and faster document retrieval in offices, schools, and shared workspaces
-
Accurate binder spine measurements help prevent misalignment, reprints, and wasted label sheets
-
Choosing the right printer and label material ensures sharp text, consistent alignment, and durable results
-
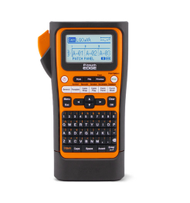
Brother P-touch printers support precision printing and custom fonts suited for narrow binder spines
-
Simple templates and restrained design improve readability and visual consistency across binders
-
Test printing before final production reduces errors and helps maintain a clean, professional filing system
You know the feeling when every binder on the shelf looks exactly the same. You pull one out, open it, realize it is the wrong file, and put it back, only to repeat the process again. That small frustration adds up quickly in offices, classrooms, and shared workspaces where time and clarity matter.
The problem is rarely the filing system itself. It usually comes down to printing binder spine labels that do not fit properly, fade over time, or look inconsistent across binders. Narrow spines leave little room for error, and the wrong printer, poor sizing, or cluttered design can turn a simple label into a daily annoyance.
This guide walks you through how to print binder spine labels the right way. You will learn what tools to use, how to size and design labels for readability, and how precision printers like Brother P-touch help create clean, professional binder spine labels that stay clear and consistent.
What Makes Binder Spine Labels So Useful?
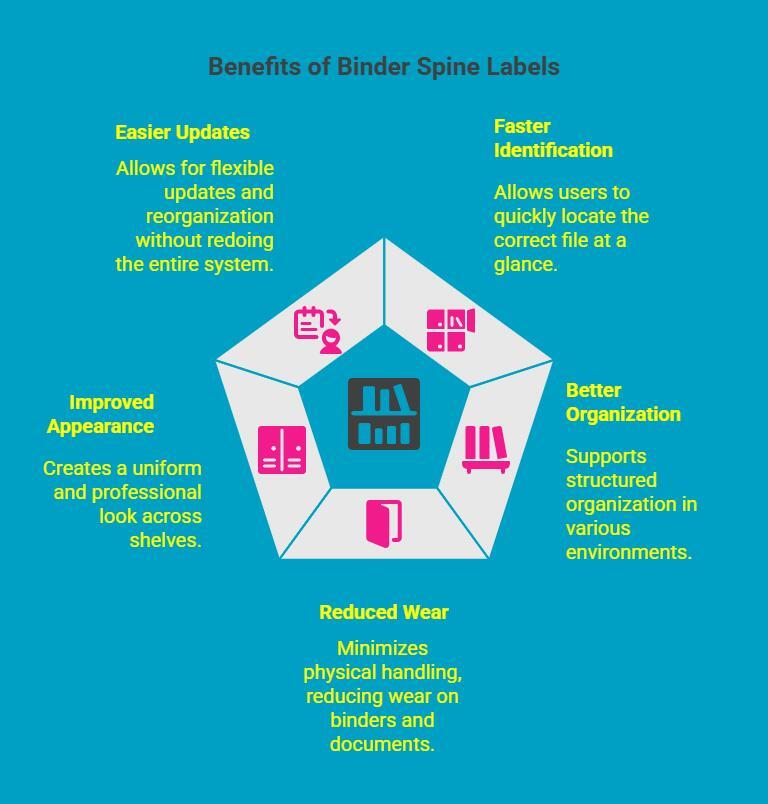
Binder spine labels solve a simple but persistent problem: identifying files quickly when binders are stored upright. By keeping key information visible on the spine and utilizing the front cover for additional information, they remove guesswork and reduce unnecessary handling of documents.
1. Faster Identification at a Glance
When binders are shelved side by side, spine labels allow users to locate the correct file immediately. This is especially valuable in busy offices or shared workspaces where efficiency matters.
2. Better Organization Across Different Settings
Binder spine labels support structured organization in offices, schools, and home study environments. They help separate reports, subjects, or reference materials clearly, making systems easier to follow and maintain.
3. Reduced Wear on Binders and Documents
Because users do not need to pull out multiple binders to check contents, binder spine labels help reduce physical handling. This limits wear on binder edges, rings, and stored documents over time.
4. Improved Consistency and Professional Appearance
Consistent spine labels create a uniform look across shelves. This supports a professional presentation and makes document systems easier to understand for new team members or auditors.
5. Easier Updates and Reorganization
Well-designed binder spine labels can be replaced or updated without redoing the entire filing system. This flexibility is useful when documents change, departments grow, or categories are reorganized.
Clear binder spine labels reduce search time, minimize misfiling, and support long-term organization. By keeping information visible and consistent, they help maintain order without adding extra steps to daily workflows.
What Do You Need Before You Start Printing?
Printing binder spine labels starts with preparation. When tools and materials are chosen carefully, the process becomes faster, cleaner, and more predictable. This reduces reprints, saves label stock, and ensures consistent results across binders.
1. Use the Right Printer and Label Sheets
Binder spine labels require precision due to their narrow format. General-purpose printers often struggle to maintain sharp text and proper alignment at smaller sizes and different sizes. Inkjet printers may produce uneven output, while laser printers can limit material flexibility.
Brother P-touch label printers are designed specifically for controlled, accurate label printing. They produce clear text, uniform spacing, and reliable alignment, which is essential for binder spines. When used with durable label supplies from DuraFast Label Canada, labels hold up to frequent handling and remain legible over time.
What to look for:
-
Consistent print quality at small font sizes
-
Reliable alignment on narrow labels
-
Label materials that resist smudging and wear
2. Pick Templates and Easy Design Tools
Once printing tools are in place, design becomes the next focus. Templates help standardize sizing and layout, reducing setup time and formatting errors. Many teams use Microsoft Word or Google Docs to create printable binder spine labels by setting tables or text boxes to match the binder spine width.
For higher consistency across large filing systems, Brother P-touch label software offers greater control over fonts, spacing, and margins. This ensures every label looks uniform, even when printed in batches or updated over time.
Templates are useful for:
-
Maintaining consistent label sizes
-
Keeping text centred and readable
-
Reusing layouts across multiple projects
3. Add Optional Trimming and Finishing Tools
If labels are printed on full sheets rather than pre-cut formats, finishing tools improve the final fit. A paper trimmer allows clean, straight cuts, preventing uneven edges that can affect how labels sit inside binder spine sleeves.
Clean trimming improves both appearance and usability, helping labels slide into place smoothly without curling or overlapping.
With the right printer, templates, and finishing tools in place, printing binder spine labels becomes a straightforward, repeatable process. This setup ensures clean alignment, consistent formatting, and professional results across every binder.
How Do You Print Binder Spine Labels the Right Way?
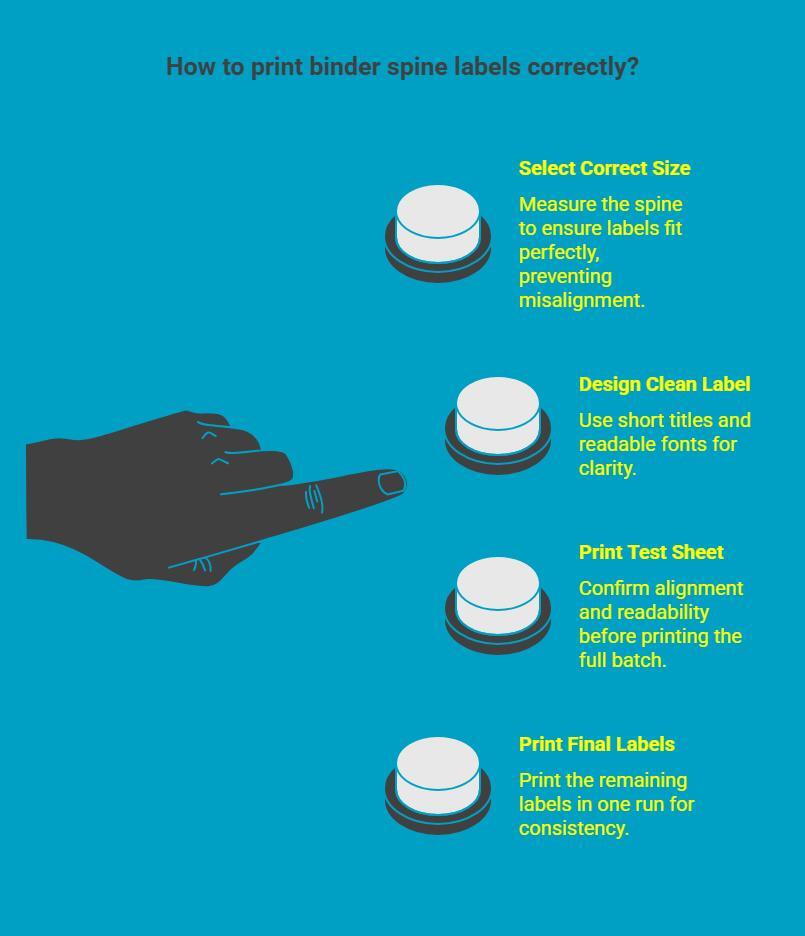
Printing binder spine labels is straightforward when you follow a logical sequence. Most issues, such as poor alignment or wasted sheets, come from skipping measurement or testing. A methodical approach ensures labels fit well and look consistent across binders.
1. Select the Correct Binder Spine Size
Binder spine width varies based on capacity, so measurement is the first step. Even small differences in width can affect centring and readability once the binder is placed on a shelf.
Before designing your label:
-
Measure the spine with a ruler rather than estimating
-
Check whether the spine has a clear sleeve or a fixed surface
-
Decide on vertical or horizontal text orientation
Designing labels to the exact spine width keeps text centred and prevents trimming after printing.
2. Design a Clean and Readable Label
Spine labels should prioritize clarity over decoration. Limited space means every element must earn its place.
For a clean layout:
-
Use short, descriptive titles
-
Stick to one easy-to-read font style
-
Maintain consistent spacing across labels
Brother P-touch printers support precise font sizing and alignment, making it easier to adjust text so it remains readable without overcrowding the label.
3. Print a Test Sheet
A single test print helps confirm that the design works in real conditions, not just on screen. This step saves time and materials before committing to a full batch.
When reviewing a test label:
-
Check alignment and centring on the spine
-
Confirm font size is readable at shelf distance
-
Look for any clipping or spacing issues
Make small adjustments before proceeding.
4. Print the Final Labels
Once the test label fits correctly, print the remaining labels in one consistent run to maintain uniformity.
After printing:
-
Let labels be set before handling
-
Insert or apply them carefully to avoid bending or smudging
-
Store unused labels flat for future use
Following this process ensures binder spine labels fit properly, remain readable, and present a clean, professional filing system.
Following these steps helps ensure your binder spine labels fit accurately, print cleanly, and remain consistent across all binders. A structured approach reduces errors and creates a more organized, professional filing system.
How Can You Make Your Labels Look Clean and Professional?
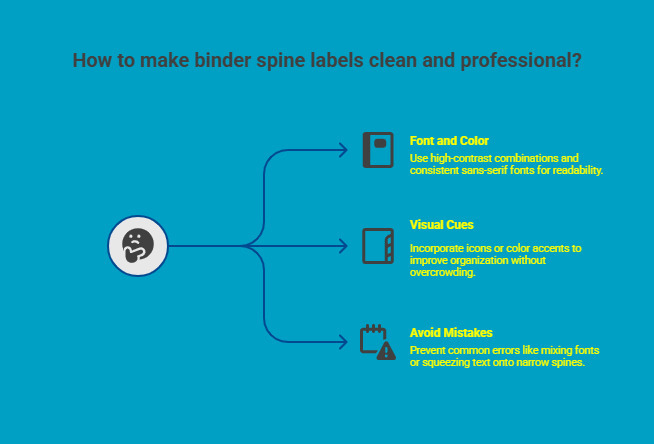
Clean, professional binder spine labels rely on consistency more than decoration. When labels are designed to be easily scanned on a shelf, they improve organization and keep filing systems looking structured over time.
1. Choose the Correct Fonts, Colours, and Simple Layouts
Binder spines offer limited space, so readability should guide every design decision. High-contrast combinations, such as black text on a white or light background, remain the most effective for choosing the right binder for clear visibility.
To keep labels uniform and easy to read:
-
Use a single sans-serif font for all labels
-
Keep font sizes consistent across binders
-
Maintain even margins on all sides
Brother P-touch label makers support precise font sizing and spacing, making it easier to produce consistent binder spine labels across large batches.
2. Use Icons, Categories, or Light Branding
Visual cues can improve organization when used sparingly. Simple icons or category markers help differentiate binders without increasing text density.
Effective options include:
-
Small symbols to indicate departments or subjects
-
Colour accents to group related binders
-
Minimal branding elements that do not dominate the spine
These elements should support identification, not compete with the label text.
3. Avoid Common Design and Printing Mistakes
Most quality issues come from overcrowded designs or skipped test prints. Narrow spines cannot accommodate excessive text or mixed font styles.
To avoid common errors:
-
Do not mix multiple fonts or font weights
-
Avoid squeezing long titles onto narrow spines
-
Always print and test one label before final printing
When binder spine labels are designed with clarity and restraint, they remain easy to scan and simple to maintain. A consistent approach keeps your filing system organized and professional as it grows.
How Do You Create Professional Binder Spine Labels With a Brother P-Touch Label Maker?
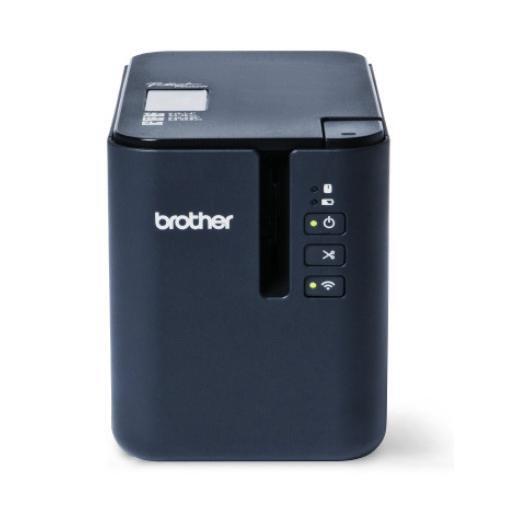
Creating clean binder spine labels becomes far more consistent when you use a printer designed for precision, especially if they are stored on a bookshelf. Brother P-touch label makers are built specifically for structured labelling tasks, where spacing, font clarity, and alignment matter on narrow surfaces like binder spines.
Unlike standard printers, P-touch devices allow you to control font size, weight, and spacing with accuracy. This makes it easier to keep text readable without crowding, even when printing binder spine labels for slim binders or tightly packed shelves.
Different Brother P-touch models support different workplace needs:
-
PT-E310BTVP works well for offices that need durable, clearly formatted binder spine labels with minimal setup
-
PT-E560BTVP offers advanced formatting options, making it suitable for larger filing systems or industrial documentation
-
PT-P950NW supports high-speed and network printing, which is useful in shared office environments with multiple users
When paired with compatible label supplies, P-touch printers produce binder spine labels that remain aligned, legible, and securely placed over time. This consistency reduces relabelling work and helps maintain a professional, organized filing system across teams.
Why Choose DuraFast Label Canada for Binder Spine Labels?
Once you have the right printer and label design in place, the final factor that determines long-term results is label quality. Binder spine labels are often slid in and out of shelves, and are expected to stay readable over time. This makes material choice just as important as printing accuracy.
DuraFastLabel.ca focuses on label solutions built for real workplace conditions. Their products are designed to support clean printing, consistent alignment, and reliable adhesion, especially for narrow formats like binder spines.
Key advantages include:
-
Compatibility with Brother P-touch printers, ensuring sharp text and precise formatting
-
Durable label materials that resist smudging, curling, and everyday handling
-
Consistent sizing and finish, which helps maintain a uniform look across binder systems
-
Reliable adhesion, keeping labels securely in place without peeling or shifting
Using quality labels reduces the need for reprints and adjustments. It also helps maintain a professional, organized appearance as filing systems grow or change over time.
Ready to upgrade your binder system?
Explore Brother P-touch compatible label supplies at https://www.durafastlabel.ca/contact-us/ and create binder spine labels that print cleanly, fit accurately, and stay readable with everyday use.
Final Thoughts
Printing binder spine labels may seem like a small task, but doing it correctly has a lasting impact on organization and efficiency. Accurate sizing, clean design, and careful testing help ensure labels remain readable and consistent over time.
Precision printers like Brother P-touch make it easier to control spacing, fonts, and alignment, resulting in binder spine labels that look professional, fit properly, and support organized filing systems as document needs grow.
Frequently Asked Questions
How to print binder spine labels?
Measure the binder’s spine width of the binder spine, design a simple label using a template, print a test label to confirm fit, then print the final batch using a precise printer for consistent alignment and readability.
Can I use a Brother P-Touch label maker to create binder spine labels?
Yes. Brother P-touch label makers support precision printing, custom fonts, and spacing control, making them ideal for clean, professional binder spine labels that remain legible on narrow spines.
How to make binder spine labels in Google Docs?
Create a table or text box sized to your binder spine width, use a simple font, and consider adding graphics before printing on compatible label sheets, using an existing label as a guide, after testing alignment to ensure the labels fit correctly.
How to create a binder spine template in Word?
Set custom page margins to match the binder spine width, insert a text box for alignment, and save the layout as a reusable template for consistent binder spine labels.
What is the best way to ensure my printed binder spine labels fit correctly?
Always measure the binder spine, design labels to match that width, and print a test label before full production to confirm alignment, readability, and fit.
How Do I Insert a Printed Label Into a Binder Spine?
Open the clear plastic sleeve on the binder spine, slide the printed label inside with text facing outward for the front of the binder, and adjust alignment before closing. Trim the label if needed so it fits smoothly without bending or overlapping.
Where Can I Find Pre-Made Templates for Binder Spine Labels?
Pre-made Avery binder spine label templates are available in Microsoft Word, Google Docs, and Brother P-touch label software. These templates help ensure correct sizing, alignment, and consistent formatting, reducing setup time and printing errors.